
The Question
I did not want to evaluate HyperFrames by only reading documentation, rendering a tiny sample, and jumping to a conclusion.
The test was more concrete:
Can HyperFrames explain HyperFrames?Not as a polished marketing demo, but as a technical workflow: use HyperFrames to build a video about HyperFrames, then publish the source, commands, mistakes, fixes, screenshots, audio, captions, renders, and evidence.
The goal was not to prove that HyperFrames covers every possible video workflow. The goal was narrower and more useful: build a reproducible developer video from HTML and document what actually happened.
What I Built
The repository ends with a final 90-second demo:
renders/final-demo.mp4That demo is rendered from:
video/final-demo/
And it keeps evidence next to the source:
video/final-demo/evidence/ffprobe-final-demo.json
video/final-demo/evidence/frame-02s.png
video/final-demo/evidence/frame-30s.png
video/final-demo/evidence/frame-50s.png
video/final-demo/evidence/frame-70s.png
video/final-demo/evidence/frame-88s.png
The line that guided the experiment was:
HTML is the source. MP4 is the artifact.But the MP4 is not the center of the project.
The center is that the path is auditable. The repository is not organized as "here is the code, good luck". It is organized as a technical build log:
docs/ -> decisions, plans, audits, and publication checklist
JOURNAL.md -> chronological build journal
video/final-demo/ -> final composition, script, storyboard, and render notes
video/final-demo/evidence/ -> FFprobe metadata and sampled frames
experiments/ -> small isolated probes
evidence/ -> global run evidence
article-assets/ -> editorial map of clips, screenshots, and files to cite
renders/ -> final artifacts
That structure is part of the thesis. If a technical video is built like software, it should also have source, validation, outputs, and evidence. I do not want a video that only looks good. I want a technical artifact whose path can be inspected.
Public repository:
https://github.com/JuanTorchia/hyperframes-explains-itselfFinal demo:
Step 1: Build a Repository That Tells the Story
Before rendering anything, I structured the repository as article material, not just as a pile of experiments.
The important files are:
README.md
JOURNAL.md
docs/007-article-outline.md
docs/017-article-evidence-map.md
docs/018-final-demo-plan.md
article-assets/README.md
JOURNAL.md is the key file. It records the real build process: hypothesis, commands, failures, fixes, and decisions. That changes the article because the final post is not a polished conclusion written after the fact. It is a reconstruction of the actual work.
The editorial rule was:
No claim without a command, artifact, or documented caveat.If I did not have a command, evidence file, or explicit limitation, I could not turn it into a strong claim.
Step 2: Install HyperFrames Locally
I did not want the project to depend on a globally installed CLI.
My local environment started like this:
node --version -> v24.11.1
ffmpeg -version -> command not found
hyperframes --version -> command not found
npm view hyperframes version -> 0.6.80
That already shaped the project. If the repository was going to be reproducible, it could not depend on whatever happened to be installed on my machine.
So HyperFrames became a local dev dependency:
npm install --save-dev hyperframesThe scripts became explicit:
{
  "scripts": {
    "doctor": "hyperframes doctor",
    "doctor:docker": "docker version && docker info",
    "lint": "hyperframes lint",
    "inspect": "hyperframes inspect",
    "check": "npm run lint && npm run inspect",
    "final-demo:check": "hyperframes lint video/final-demo && hyperframes inspect video/final-demo",
    "final-demo:render": "hyperframes render video/final-demo --docker --strict-all --workers 1 --output renders/final-demo.mp4"
  }
}
Step 3: Validate Before Rendering
The first loop was:
npm run checkThat runs:
hyperframes lint
hyperframes inspect
The first pass did not explode, but it surfaced a useful warning: the timeline was too dense in one file. I kept it that way for the first version because it was easier to read, but I documented that the scenes should move into sub-compositions if the video grew.
Then snapshots exposed a real visual bug: all scenes were visible at the same time. After the first fix, the initial frame became blank.
That is exactly the kind of issue I wanted the post to show. If you build video from HTML, you need to think about initial state, visibility, timelines, and sampled frames. It is not enough for the DOM to look okay in a browser.
The fix was:
stop enabling every scene with a broad selector
set scene visibility explicitly
ensure frame 0.0s has visible content
That is why screenshots and contact sheets are versioned:
video/hyperframes-in-60-seconds/screenshots/
video/final-demo/evidence/
Step 4: Choose Docker as the Main Render Path
FFmpeg was not available on PATH. I could have installed it locally, but that would have moved the tutorial toward "works on my machine".
So Docker became the main render path:
npm run doctor:docker
npm run final-demo:render
That did not remove every rough edge. The first render attempt timed out while Docker was still building the renderer image. The second render completed once the image was ready.
That detail matters in a real how-to:
first render: may pay the Docker image build cost
next render: should be much more straightforward
Step 5: Move From a Short Demo to a Technical Walkthrough
The first version was a 60-second intro. It worked, but it felt too close to a product demo.
I changed the direction into a technical walkthrough:
repository
HTML composition
sub-compositions
validation
Docker render
output formats
captions
audio
experiments
mistakes
limits
The video became less "look at this tool" and more "look at how I tested it".
That also made the article stronger. The video is not the whole post. The video is one piece of evidence inside the post.
Step 6: Add Voice Without Overclaiming Reproducibility
I generated the voiceover with:
npm run tts:final-demoBut this is an important limitation: generating the audio is not as deterministic as rendering HTML plus an existing WAV file.
So the repository treats the generated WAV as a source asset:
video/final-demo/assets/audio/final-demo-af-nova.wavThe correct claim is not "everything is perfectly deterministic". The correct claim is:
the render from HTML + WAV is reproducible;
the generated WAV is recorded as an input artifact.
That distinction keeps the article honest.
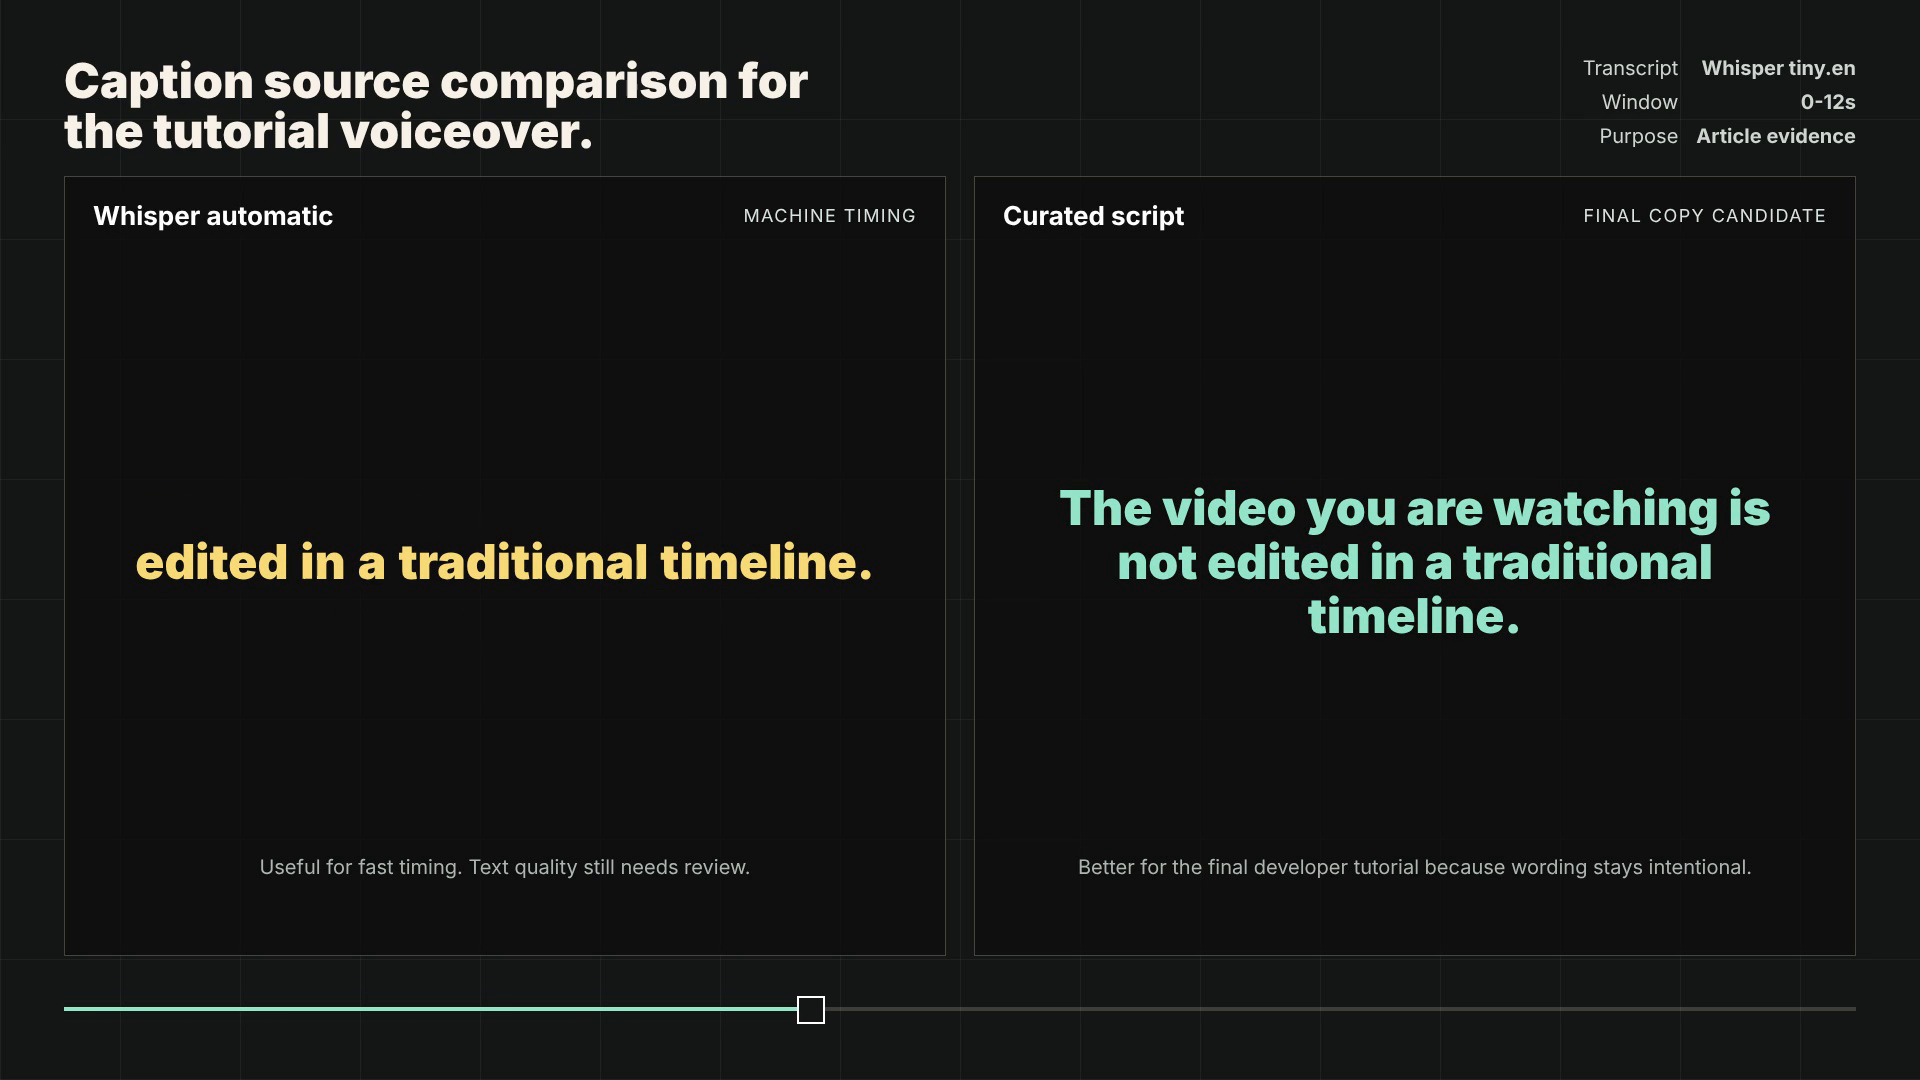
Step 7: Test Automatic Captions and Curated Captions
I also tested transcription and captions.
The useful lesson was simple: machine output can help with timing, but final technical captions still need editing.
The repository keeps the evidence:
experiments/008-captions-layer/evidence/caption-comparison.json
evidence/captions/main-caption-summary.json
renders/hyperframes-in-60-seconds-with-captions.mp4
The article should say this plainly:
Whisper helped with timing.
The final copy should not be raw Whisper text if you want a readable technical video.
Visual caption evidence:
Step 8: Use Small Experiments Instead of Big Claims
Instead of claiming "HyperFrames supports many things", I built small probes:
experiments/001-media-timing
experiments/002-output-formats
experiments/008-captions-layer
experiments/009-track-attributes
experiments/010-social-aspects
experiments/011-render-controls
experiments/012-waapi-adapter
experiments/013-adapter-sampler
experiments/014-mov-output
experiments/015-remove-background
experiments/016-init-template
Each experiment tested a small surface:
media timing
WebM
PNG sequence
ProRes MOV with alpha-capable output
captions
social aspect ratios
quality / bitrate / CRF
WAAPI
Three.js / Anime.js / D3 / Lottie / PixiJS through local bridges
background removal
init scaffold
The experiments/ folder is almost a technical table of contents for the article. It is not filler. Each subfolder exists so a claim has somewhere concrete to point.
Examples:
experiments/008-captions-layer -> automatic vs curated captions
experiments/010-social-aspects -> landscape, portrait, and square
experiments/013-adapter-sampler -> local bridges with browser libraries
experiments/014-mov-output -> ProRes MOV with alpha-capable pixel format
experiments/015-remove-background -> PNG output with alpha samples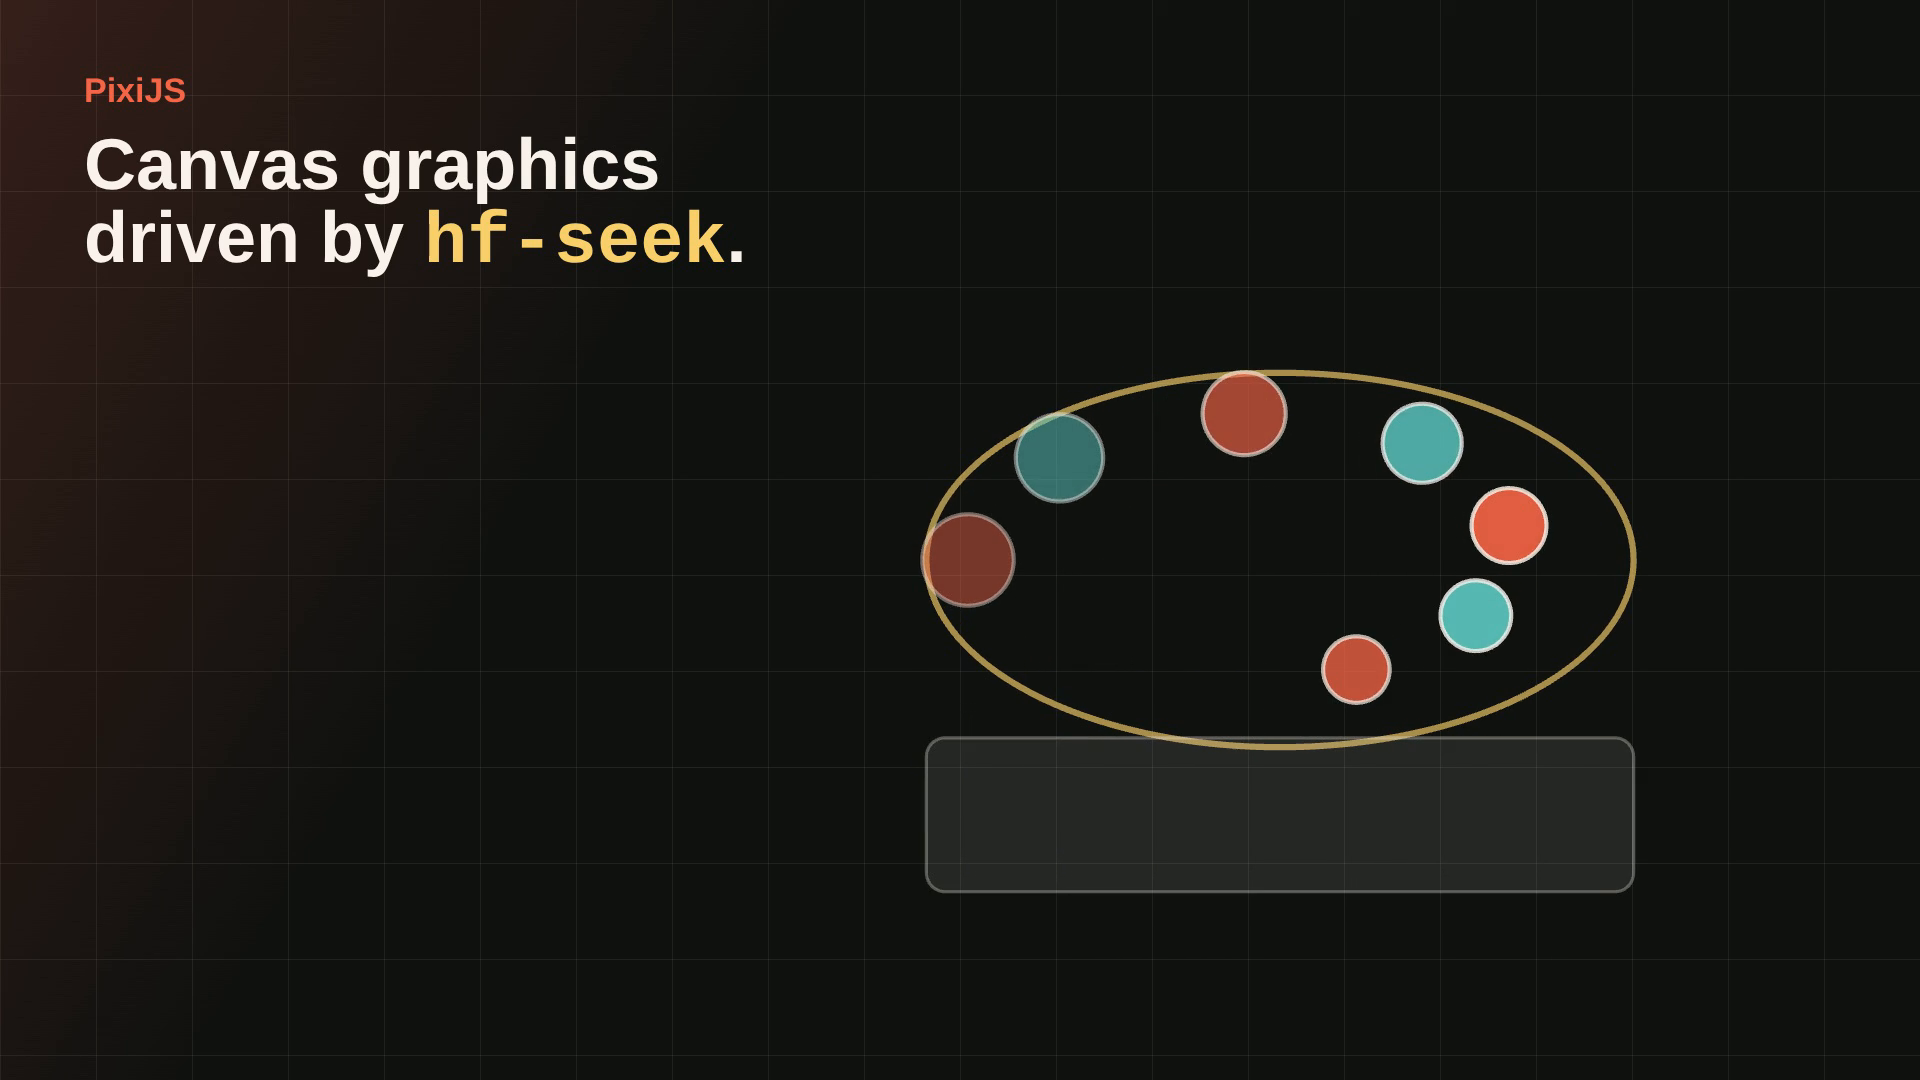
This makes the post stronger because it does not rely on one broad statement. It relies on many small pieces of evidence.
Step 9: Document What the Evidence Does Not Prove
Some things looked tempting to oversell.
Adapters are one example. The docs mention adapters, but during this run the @hyperframes/adapters package did not install from npm the way I expected. So the repository proves local hf-seek bridges, not a broad claim that every official adapter package is published and installable.
The honest version is:
I tested local integrations with several browser animation libraries.
That is evidence that browser-side animation can be synchronized with the timeline.
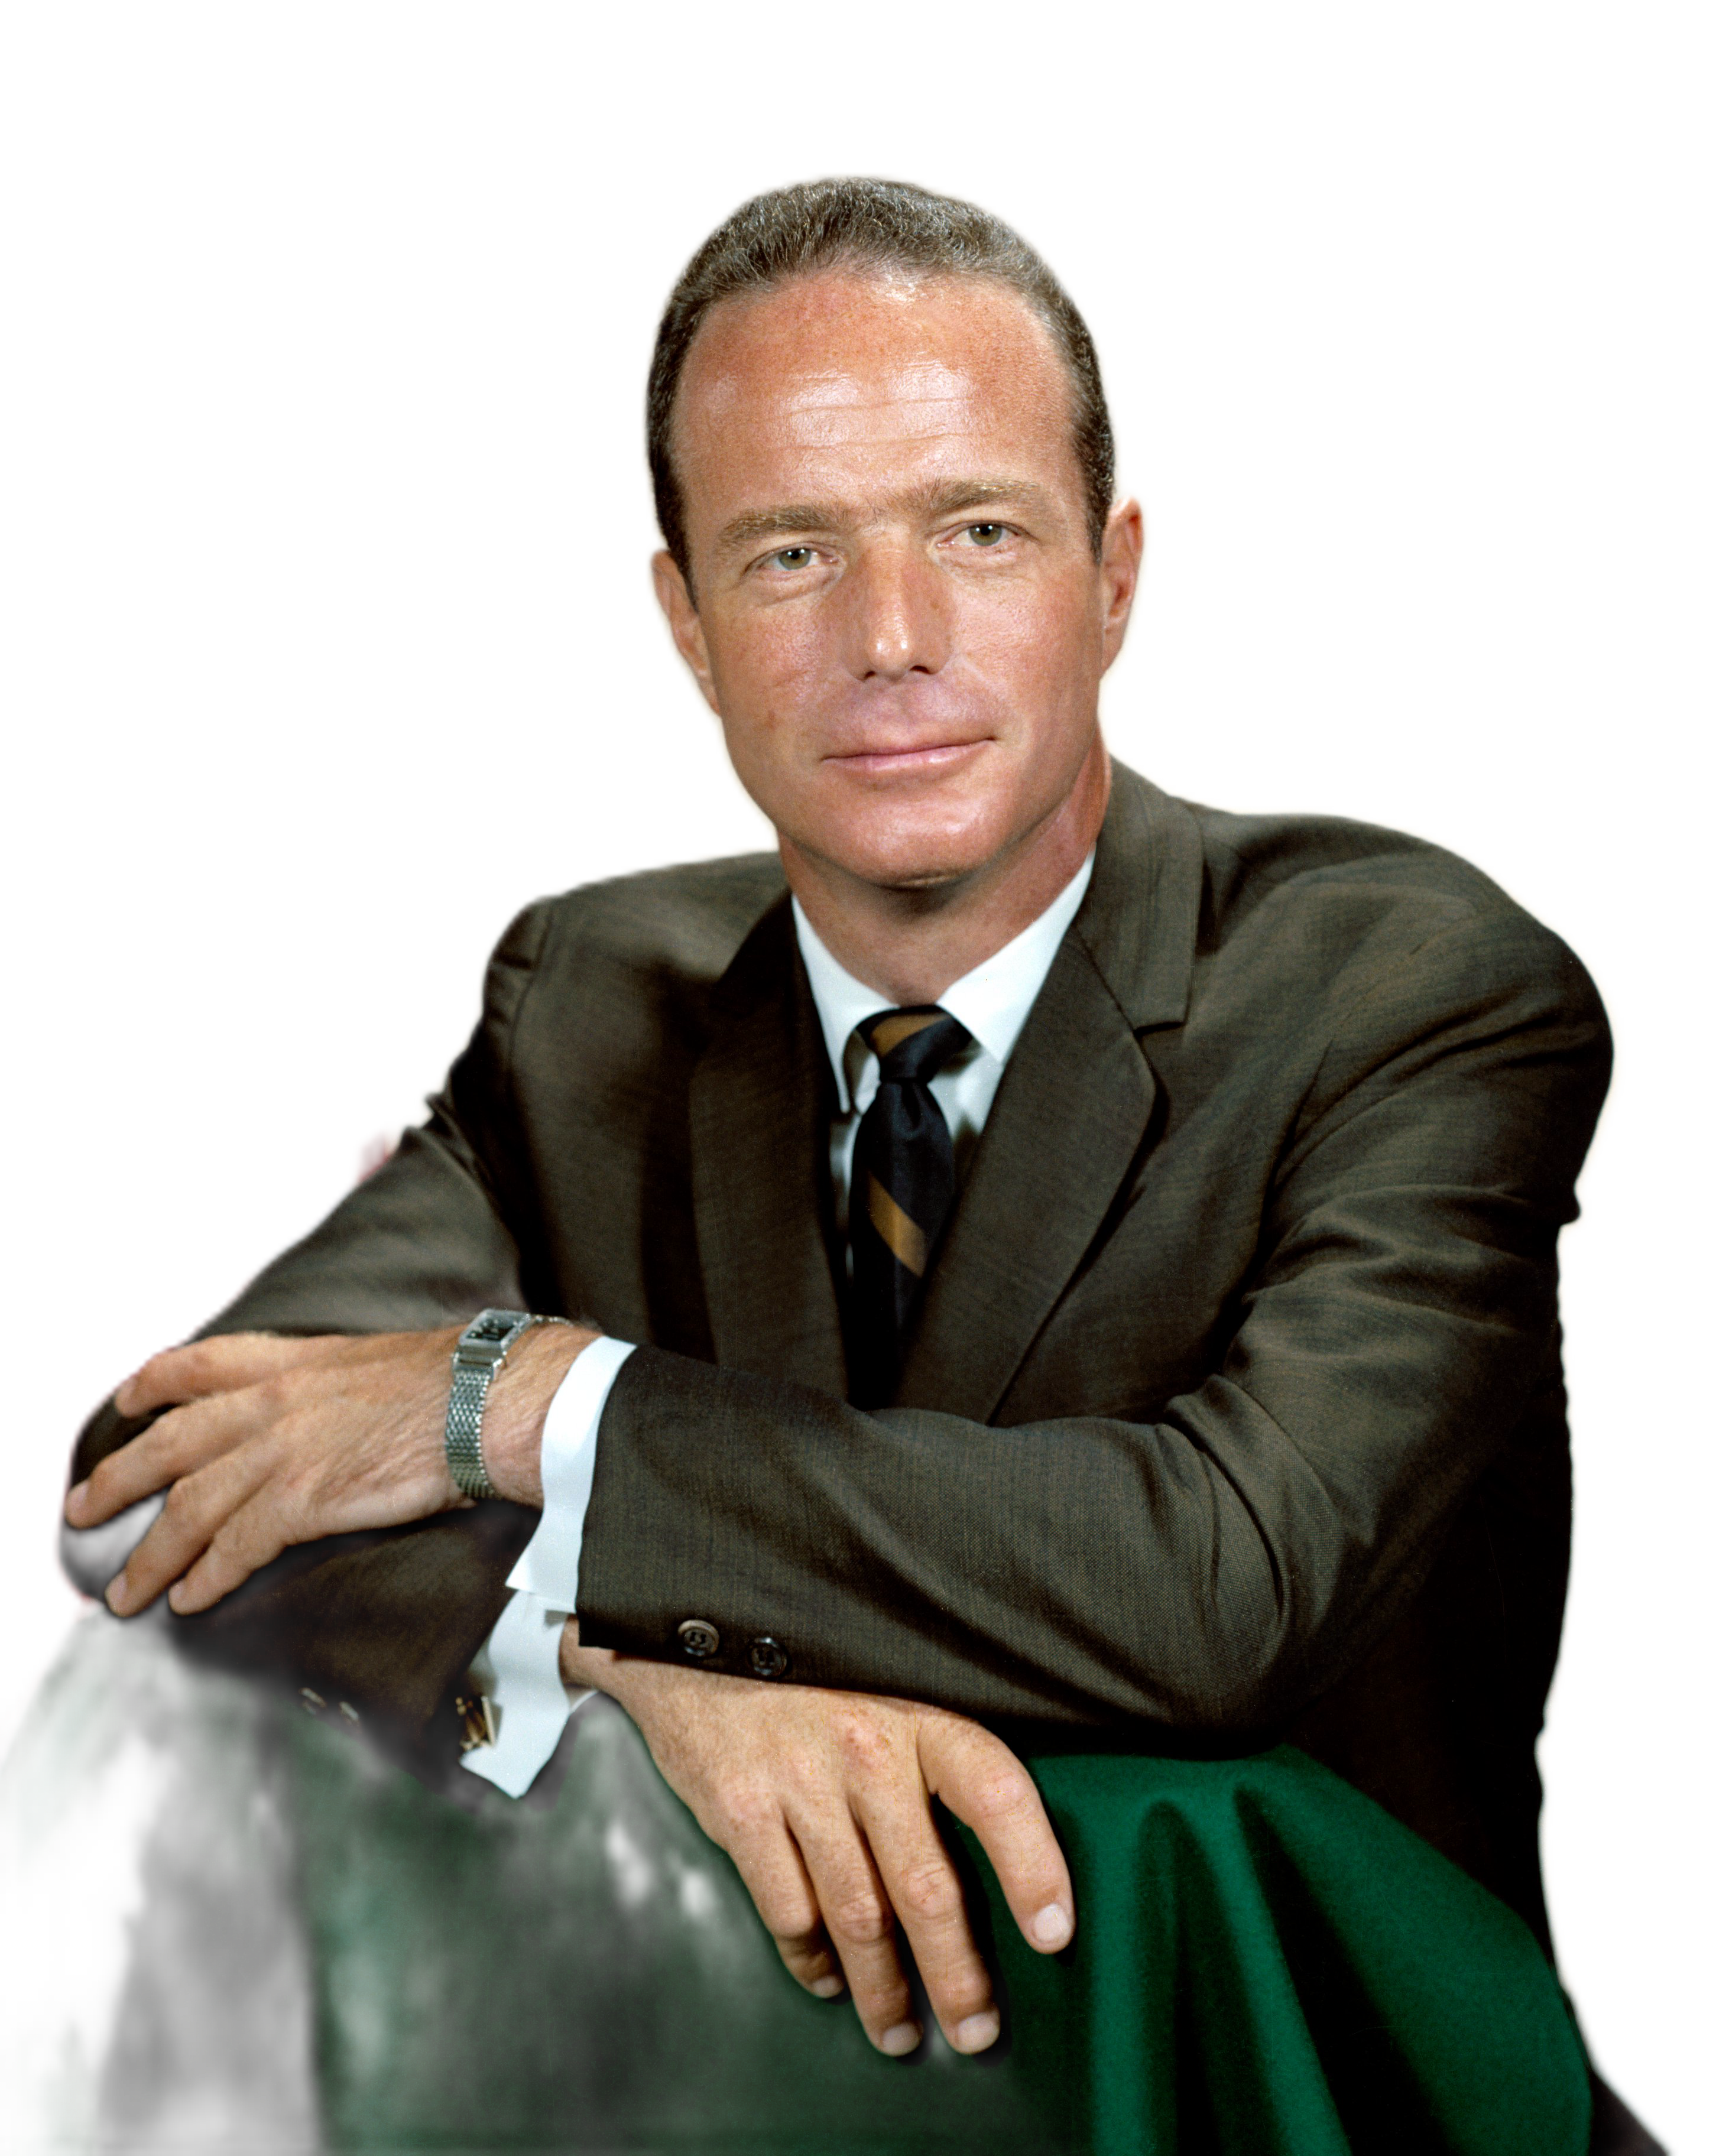
It is not evidence that every official adapter package is available.Background removal had a similar lesson. My first fixture was a flat icon and the output was useless as evidence. I later used a real public-domain portrait and validated alpha samples.
That mistake belongs in the post. Removing it would make the article weaker.
Step 10: Close With the Final Demo and FFprobe Evidence
The final demo was rendered with:
npm run final-demo:check
npm run final-demo:render
Result:
renders/final-demo.mp4
duration: 90.048s
video: h264, 1920x1080, 30fps
audio: aac, stereo, 48000Hz
size: 7,159,192 bytes
That comes from:
video/final-demo/evidence/ffprobe-final-demo.jsonOther artifacts to inspect:
Final MP4: renders/final-demo.mp4
Original walkthrough: renders/hyperframes-in-60-seconds.mp4
Captioned walkthrough: renders/hyperframes-in-60-seconds-with-captions.mp4
MOV alpha proof: experiments/014-mov-output/output/mov-alpha-proof.mov
This is the difference between "I made a demo" and "I left a reproducible technical artifact".
What I Did Not Test
This is as important as what I did test.
I did not test:
cloud render
publish
Lambda
auth
Rive
dotLottie
GPU/browser GPU
low-memory mode
CI batch rendering
personalized video at scale
Some of those require credentials, accounts, specific assets, or infrastructure decisions. Adding them just to make the article look bigger would make the result weaker.
My Takeaway
HyperFrames became interesting to me not because "HTML to video" sounds novel, but because it lets a technical video behave more like a software project:
source files
scripts
validation
assets
evidence
renders
documented mistakes
pinned versions
The most valuable artifact was not only the final MP4. It was being able to reconstruct the path.
If I had to summarize the experiment:
For technical videos, the final file should not be the only artifact. The process should be publishable too.HTML is the source. MP4 is the artifact.
Related Articles
pnpm vs npm vs yarn vs bun: The Real Comparison Nobody Gives You in 2025
I used all four in real projects. One wrecked a monorepo at 3am. Another saved my ass in production. Here's the unfiltered truth about every major package manager in 2025.
Apr 06 2026 · 8′ · Technology · pnpm · npm
Node.js: the runtime that changed how we think about backend
Node.js isn't just "JavaScript on the server." It's a paradigm shift in how we handle I/O. Thirty years in tech taught me to recognize when something genuinely moves the ground beneath your feet.
Jul 08 2026 · 5′ · Experiments · javascript · node.js
The Birth and Death of JavaScript (2014): What Still Holds and What Doesn't
A 2014 talk predicted JavaScript would die, replaced by ASM.js. A decade later, JS is still alive — but the tension it identified is more real than ever. Here's what's worth extracting, what to ignore, and how to turn it into a concrete technical decision.
Jun 15 2026 · 9′ · Opinion · TypeScript · javascript
Comments (0)
What do you think of this?
Drop your comment in 10 seconds.
We only use your login to show your name and avatar. No spam.
No comments yet. Be the first — your take matters most when we're few.